
The Network Settings screen is used for managing network interface configurations for physical as well as virtual interfaces, DNS, and the default gateway.
Refer to the Network section of the Cluster Configuration Checklist that lists down all the necessary network parameters that need to be configured for your environment.
Follow these steps to configure the Network Settings:
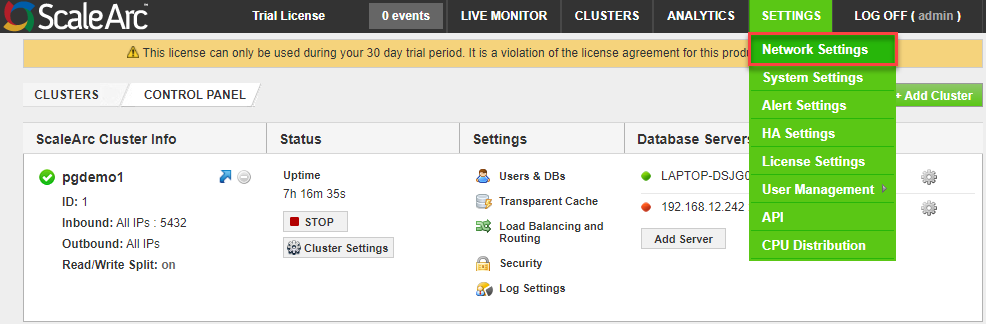
- Navigate to the SETTINGS tab > Network Settings on the ScaleArc dashboard.
-
The Network Settings screen has seven columns.
Important: IP addresses should only be configured from the ScaleArc UI to ensure underlying configurations within the ScaleArc framework are correctly associated for proper functionality.
Additionally, any field with a gear icon next to it can be selected to define or modify its value.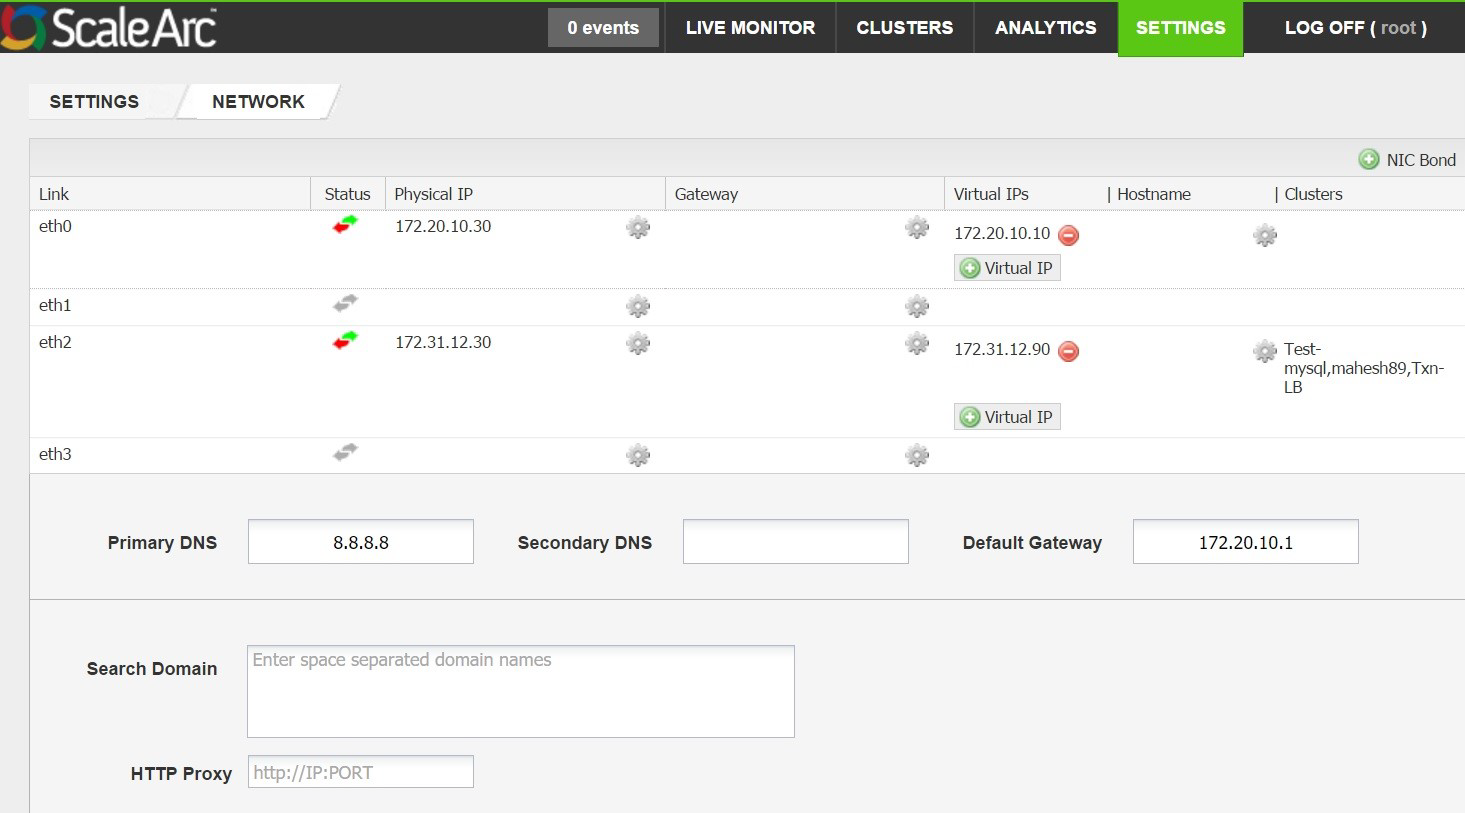
Column Description Default/User input Link Name of the network interface on which the IP address is configured, for example, eth0
Autoselected. User input is not required. Status Communicates whether the link is up or down.
Physical IP IP address for the interface.
Enter the IP address for the interface. Gateway IP address of the network gateway. This setting is useful when you have multiple NICs.
                    If you do not define this field, ScaleArc
                    uses the default gateway.
Enter the gateway's IP address. Virtual IP This address can be chosen as the inbound/outbound address of a cluster. If you plan to use a virtual address because of your network topology, you need to define this address here before you create a cluster. See below. Clusters The list of clusters configured on this interface, if any. Autoselected. User input is not required. Primary DNS The IP address of your primary DNS
Enter the primary DNS address. Secondary DNS The IP address of your secondary DNS Enter the secondary DNS address. Default Gateway The IP address of your default gateway
Enter the default gateway's IP address. Search Domain The domain name used for hostname resolution
Enter space-separated domain names. HTTP Proxy The HTTP proxy server, if applicable. If your environment requires a HTTP proxy to access the internet, provide the necessary HTTP proxy address.
Enter the IP address of the proxy server.
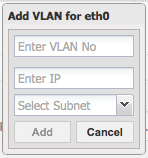
VIP address
Follow these procedures to set up a VIP address:
- Select the IP address.
- Select a subnet mask. You do not need to add a hostname for this configuration.

- Click Add.
- The address now appears on the screen.
VLAN
This term refers to the virtual LAN on which ScaleArc connects to the switch. This setting is required only if you have a switch with VLAN configuration.
- Click on the VLAN button on the Network screen.
- Enter the VLAN ID number you wish to create.
- Assign an IP address to this VLAN.
- Specify the subnet and click on Add.
NIC Bond
NIC bonding joins NICs (network interface cards) into one logical entity, with a single IP address. NIC bonding in ScaleArc provides many benefits: for instance, it aggregates multiple NICs together and increases the potential throughput of your connection.
- Click the NIC Bond button on the top right of the Network screen.
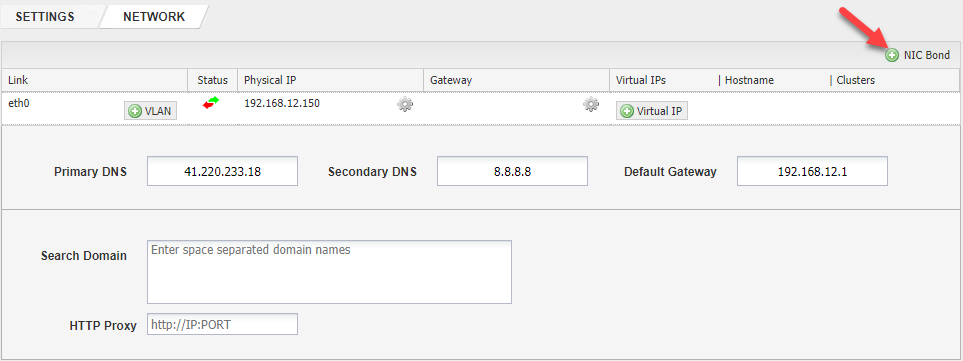
- Select the NIC devices you wish to bond together.
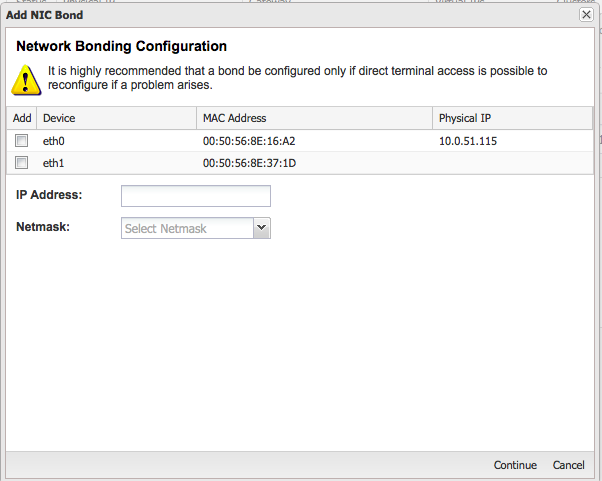
- Specify an IP address you wish to assign to the NIC bond.
-
Select the netmask and click on Continue.