
Now that you have installed ScaleArc transparently in the network, you are ready to configure the initialization parameters for the application. The wizard prompts you through some of the settings to get the application up and running.
This section provides instructions on initializing ScaleArc to make it operational.
Configure basic operating parameters
-
Click on Setup ScaleArc on the Welcome screen.
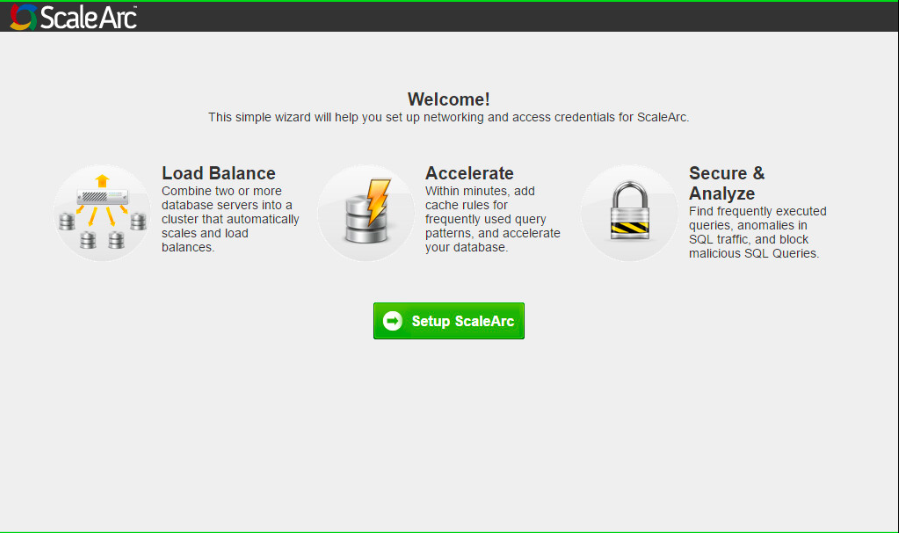
-
This screen appears only once when you begin initialization.
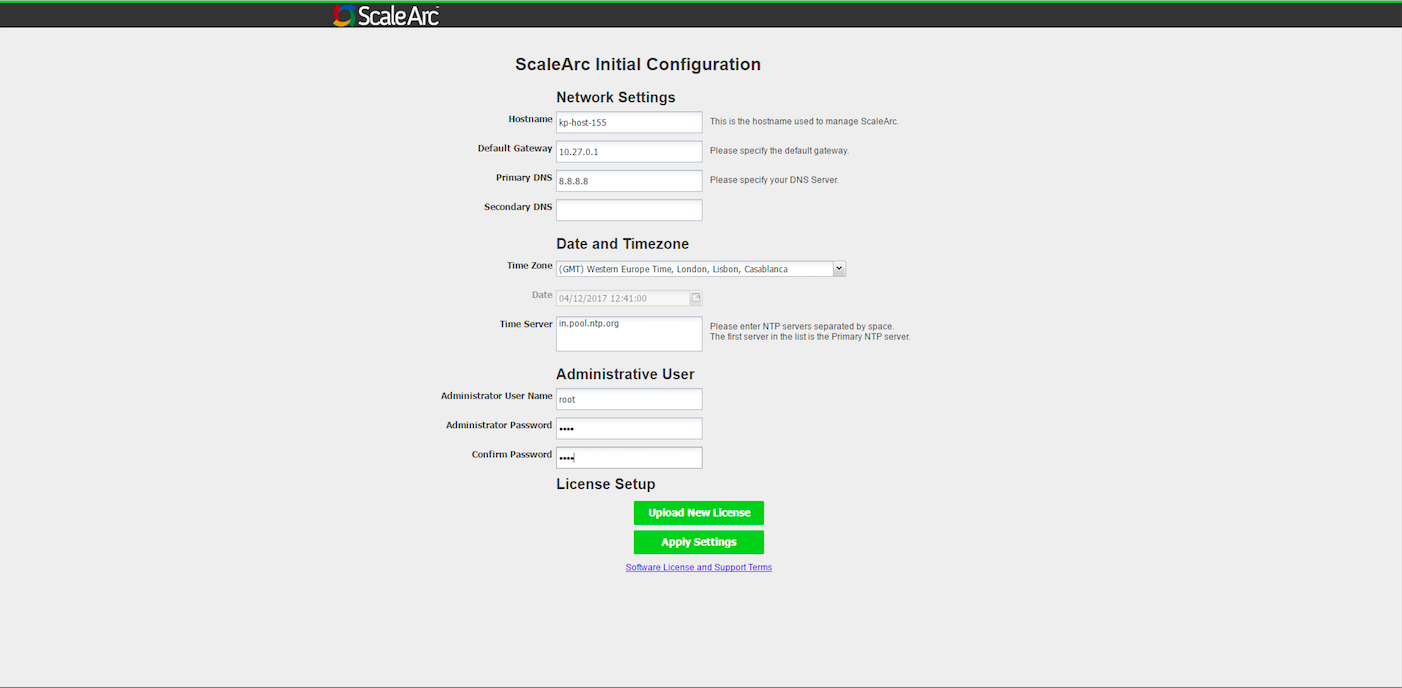
Complete the fields as follows:
Field/Button Description Default/User input Hostname Logical name used to manage the ScaleArc appliance. The hostname is used to identify ScaleArc software on the network.
Enter a hostname. Default Gateway Default Gateway's IP Address.
Enter the IP address. Primary/Secondary DNS IP Address for the Primary and Secondary DNS. ScaleArc uses these settings to translate network names to IP addresses.
Time Zone The time zone for the system.
Identify the time zone.
The default is GMT.Time Server The NTP Server used by ScaleArc. This value must be configured for ScaleArc systems that form an HA pair.
Enter the name of the NTP Server. Administrator Username The username for ScaleArc’s main administrative user used for subsequent logins to the web console.
Enter a username. Administrator Password The password for ScaleArc’s main administrative user; this is used for subsequent logins to this web console.
Enter a password. Confirm Password Repeat the password previously entered.
Re-enter password. Upload New License button Loads the ScaleArc license.
Click the Upload License button. Apply Settings button Applies the configuration.
Click the button to apply the settings. OK button Exits the configuration mode. Click OK. -
Click to upload the ScaleArc license. Wait for the appliance to upload the license and confirm it is working. A successful upload turns the Upload New License button from green to grey. Refer to ScaleArc Sizing Guide for more information on the different types of licenses, based on your capacity requirements.
-
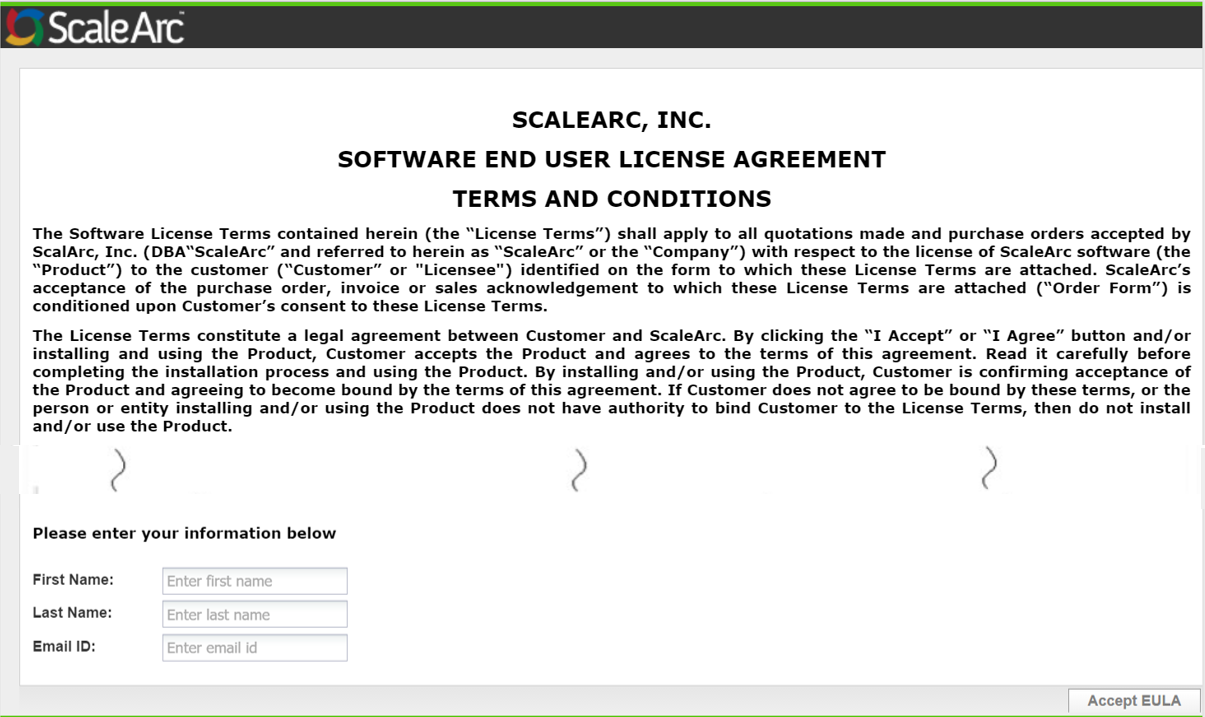
The EULA (End User License Agreement) you see on the screen depends on whether you have a Trial or a Production license key.
- Accept the EULA if you have a trial license.
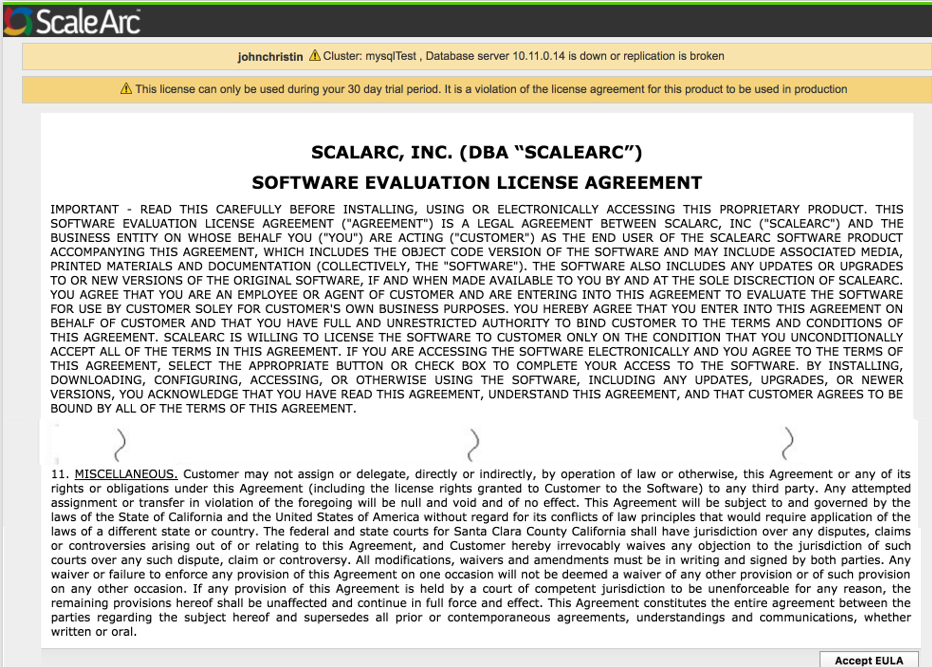
- Alternatively, enter your first name, last name, and email if you have a Production license. Then, accept the EULA.
- Accept the EULA if you have a trial license.
- Click the Apply Settings button. Note that if you attempt to complete the initial setup without accepting the EULA, ScaleArc prompts you to do so before you can apply the settings.
- The appliance loads an Applying Configuration dialog, then displays a “Settings are saved successfully” dialog.

- Click OK on this dialog.
- Log in using the administrator user name and password you set earlier. Once logged in, you will see the ScaleArc dashboard.
You may wish to clear the notifications that may have occurred during installation in the Events tab.
- Review the ScaleArc dashboard before following the wizard to define these basic configurations.
Initialize ScaleArc on AWS
Follow these procedures to initialize ScaleArc on AWS or Google Cloud. Note that the initialization screen is identical for both, except for the Cloud Information section.
-
Complete the fields as follows:
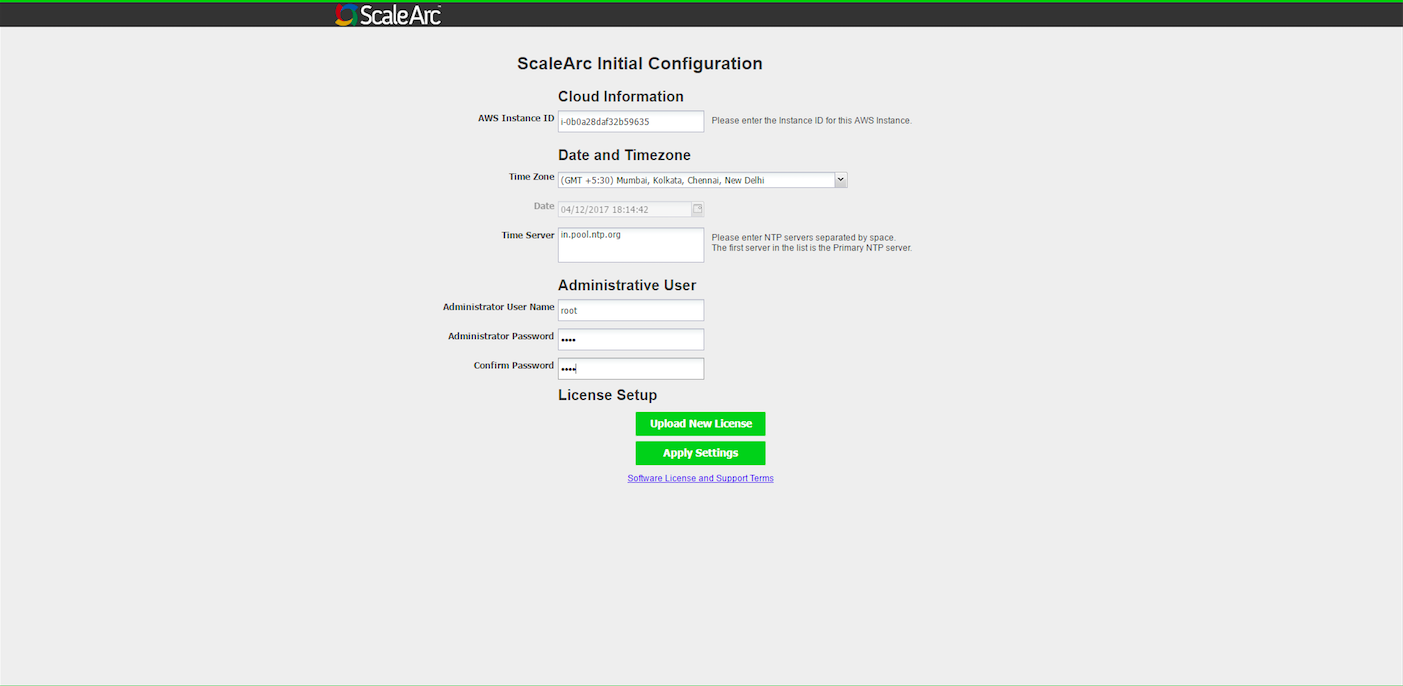
Field/Button Description Default/User input AWS Instance ID Instance ID for the AWS Instance.
Enter an AWS instance ID. Time Zone The time zone for the system.
Identify the time zone.
The default is GMT.Date The date for the system. Select the date for the system. Time Server The NTP Server used by ScaleArc. This value must be configured for ScaleArc systems that form an HA pair.
Enter the name of the NTP Server. Administrator Username The username for ScaleArc’s main administrative user, which is used for subsequent logins to this web console.
Enter a username. Administrator Password The password for ScaleArc’s main administrative user. This is used for subsequent logins to this web console.
Enter a password. Confirm Password Repeat the password previously entered.
Re-enter password. Upload License button
Loads the ScaleArc license.
Click the Upload License button. Apply Settings button Applies the configuration.
Click the button to apply the settings. OK button Exits the configuration mode. Click OK. -
Click to upload the ScaleArc license. Refer to ScaleArc Sizing Guide for more information on the different types of licenses, based on your capacity requirements.
- Wait for the appliance to upload the Trial or the Production license. A successful upload turns the text on the Upload New License button from green to grey. Accept the EULA. Note that if you attempt to complete the initial setup without accepting the EULA, ScaleArc prompts you to do so before you can apply the settings.
- Click the Apply Settings button. The appliance loads an Applying Configuration dialog, then displays a “Settings are saved successfully” dialog.
Review the ScaleArc Dashboard
ScaleArc provides a comprehensive dashboard. Note that as a first-time user, your dashboard only displays the Events tabs and the Add Cluster button. Once you have configured the cluster, the dashboard displays it in the Control Panel.
ScaleArc UI Tabs
Tabs on the top of the ScaleArc dashboard open screens to create, configure, manage, and administer clusters. Additionally, the dashboard tabs provide access to a rich suite of tools to monitor and analyze cluster activity and behavior in real-time.
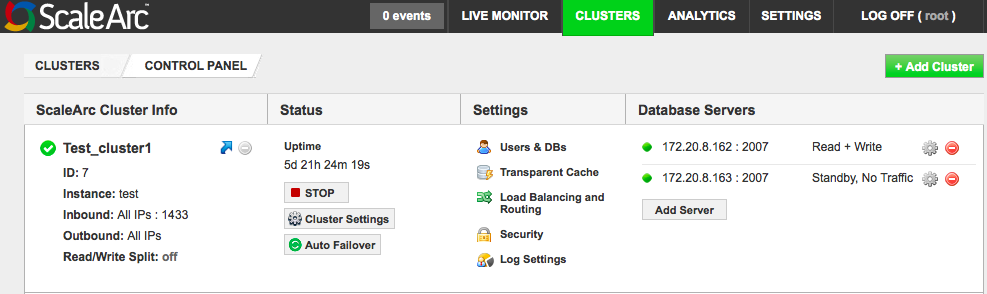
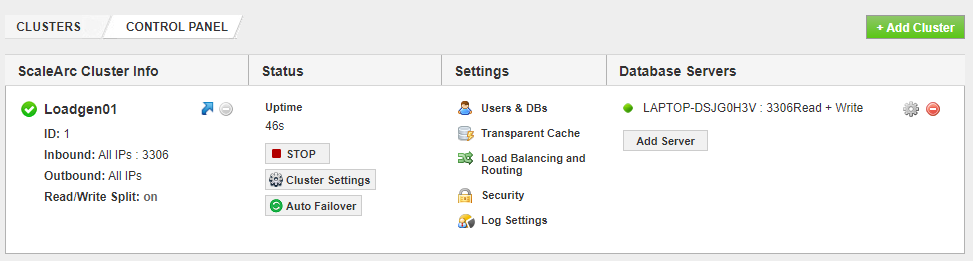
Control panel
The ScaleArc Control Panel displays clusters; one in each panel if you have more than one cluster. Each panel provides information about the cluster, including its unique system-generated ID.
It also includes interactive icons and buttons to configure and edit the configurations associated with that cluster.
Events tab
An Events tab on the menu registers and flags the number of events generated by ScaleArc. To clear events:
- Click the Events tab to show the list of notifications.

- Click the More Events button to navigate to the Events List.
- Choose an event and click the red Remove icon next to it. Confirm the event’s deletion.

-
Click Close in the Events List. To clear all events, click on the DELETE ALL EVENTS button.

- Next, configure basic settings before you begin cluster configuration.