
Follow the steps below to configure server settings without the Always On feature.
Configure Standalone or Transaction Replication servers
- On the ScaleArc dashboard, click the Clusters tab > Add Cluster button.
- Complete setting up the network and database access.
- Locate Servers on the Create Cluster screen. This is the third panel on the screen.
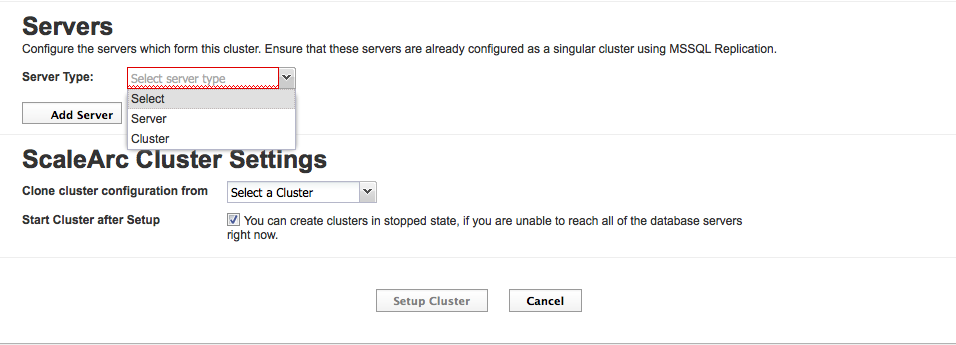
-
Select Server or Cluster from the drop-down screen.
- Click Add Server
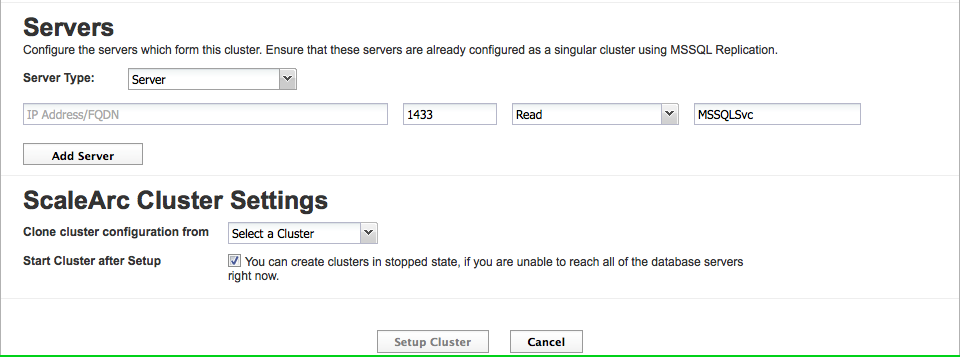
- Enter the IP address/ DNS name of the server you wish to add.
- Enter the port number or the instance name.
-
Select the server role from the drop-down list (see table below). The database service name appears at the end.
Option Description Read + Write Setting for primary Servers. This setting tells ScaleArc that this server can take write operations.
Read Setting for secondary or backup Servers that can take read-only transactions at runtime.
Standby + Read Setting for secondary machines that can take Read or Write transactions but ScaleArc only delivers Read queries to this server type. In the event of the Read+Write server becoming unavailable ScaleArc, automatically promotes servers with this type to be a Read+Write server and demotes the original server to Read+Standby. This is the most selected option for transactional replication sets.
Standby, No Traffic Warm standby server for ScaleArc. This server cannot or should not take transactions at runtime unless the Read+Write Server becomes unavailable, at which time ScaleArc demotes the Read+Write server and promotes the Standby Server to be Read+Write. Often used for other replication types for SQL Server, such as log shipping. -
Click Add Server to load the server information. Follow steps 5-9 to add more servers.
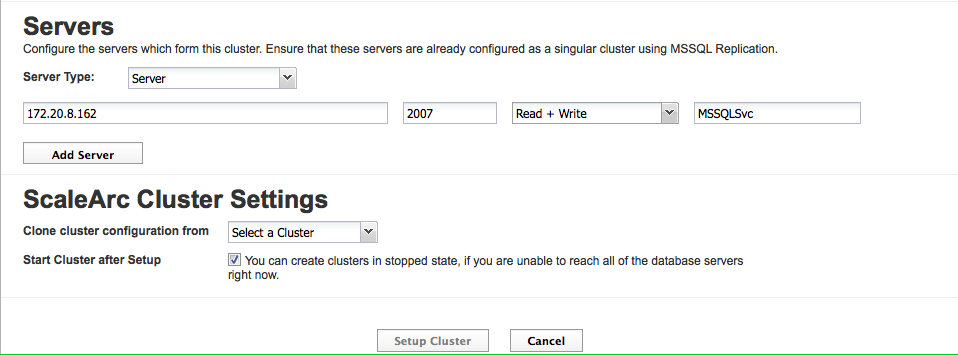
- If you wish to clone (copy) the configurations of a specific cluster, select the cluster of choice from the drop-down.
- The Start Cluster After Setup setting determines if the cluster is ON or OFF immediately following a setup.
- Click Setup Cluster to complete the configuration.
- If you have incorrectly configured the settings, you may see an error alert.
- Click OK. Review the details in the log and address the error in the appropriate section of the screen.

- Click Finish to set up the cluster.
- When completed, the system posts a notification screen.

- The cluster appears in the control panel of the dashboard.

- The cluster appears on the control panel of the ScaleArc dashboard. Its system ID appears below the cluster name.
- If you selected the checkbox (this is the default setting) in Start Cluster After Setup, the cluster's green icon indicates that the cluster is already running. If you had deselected this option, the cluster icon is red, indicating that you need to start the cluster. Click START in the second column to run the cluster. The icon turns green. Click STOP to halt the cluster.