
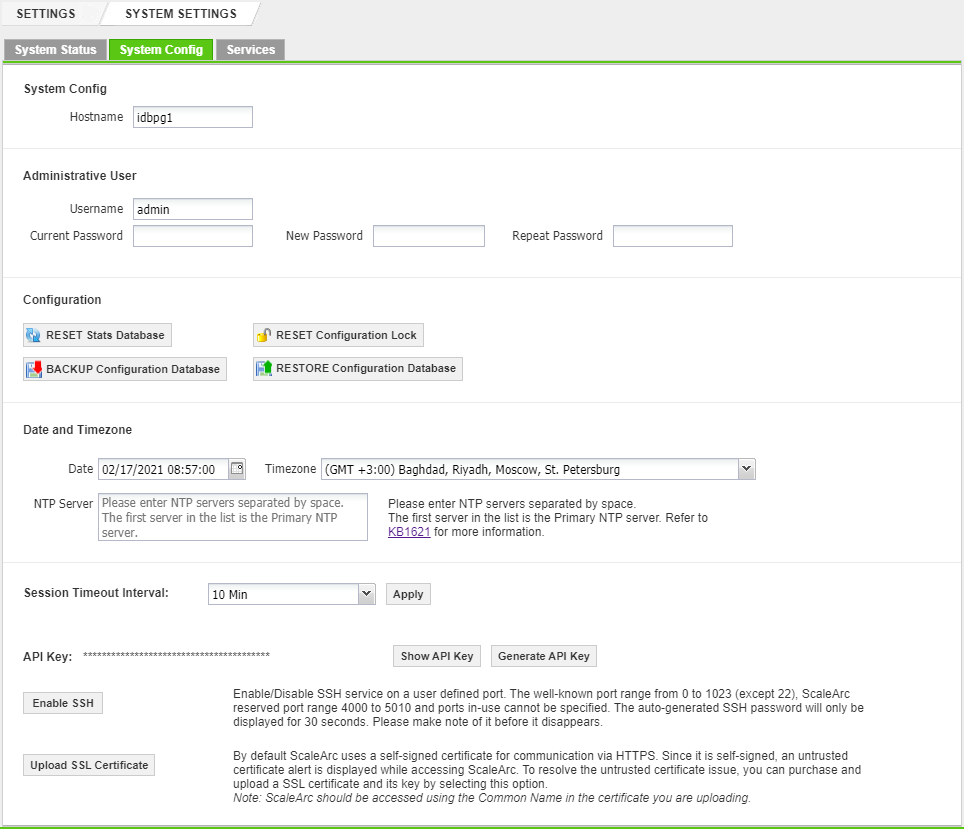
Basic system configuration changes such as the ScaleArc hostname, timezone and administrative user are made from this screen.
Follow these steps to configure the basic system settings:
- Click the SETTINGS menu > System Settings on the ScaleArc dashboard.
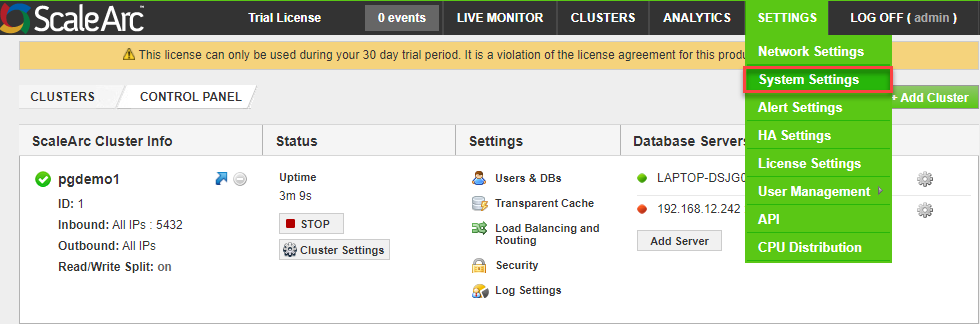
- Click on the System Config tab.
- Complete the fields as described in the relevant section below:
System Config
Hostname - This is the logical name used to identify and manage the ScaleArc appliance. Enter the preferred hostname to identify the ScaleArc appliance within the network.
Administrative User
This is where the administrative user for the appliance is created and managed.
-
Complete the fields as follows to set up the Administrative user:
Field Description Default/User input Username The username for the administrator.
Enter a username. Current Password Password for the administrator.
Enter the existing password. New Password The new password for the administrator. Enter a new password. Repeat Password Re-enter the new password for the administrator. Re-enter the new password.
Configuration
-
Complete the fields as follows:
Field/Button Description Default/User input RESET Stats Database Resets the live monitor processes so that the data on the graph is refreshed.
Warning: Use this advanced option when the live monitor graphs get stuck. Note that you may lose up to 120 seconds of data from reset.RESET Configuration Lock Applies when you receive the following error ‘Operation failed. Database is locked.' This occurs when the system does not release the lock on an internal database table.
Click this option to release the lock and modify the table. BACKUP Configuration Database Creates an archive of the current system configuration. The system stores it in /system/idb.cfg.enc on the ScaleArc filesystem. The resulting archive is also automatically downloaded to the user workstation via the web browser.
RESTORE Configuration Database Restores from a previously created Backup Configuration Database archive file.
Warning: Note that the backup and restore functions are meant as entire system replacements. The restore function requires that the IP address and hostname of the ScaleArc device be identical to the one captured in the backup archive file. These functions are meant to create a replacement ScaleArc system, should the hardware suffer a catastrophic failure. They are not meant to migrate a configuration from one ScaleArc system to another.
Data and Timezone
-
Complete as follows:
Field Description Defaults/User input Date Specifies the system date and time in the format MM-DD-YYYY hh:mm:ss.
Select a date and time format. Timezone Selects the time zone for the system.
Identify a timezone. NTP Server IP address or hostname of the NTP server e.g., clock.redhat.com or pool.ntp.org. You can configure multiple NTP servers (maximum of 3). The first server in the list should be the Primary NTP server.
Enter the servers, separated by spaces.
Security settings
-
Complete this section as follows:
Field Description Default/User input Session Timeout Interval Logs off users' inactive sessions after the
specified period of time.
Default value is 10 minutes.
1 Customize your timeout interval. 2 Click Apply. API Key Required before you can start using ScaleArc APIs. Your API key is a unique alphanumeric identifier associated with your account and is used for universal authentication commands for all of your services.
1 Click on Show API. 2 Enter your administrator
username and password.3 Click to display the API
Key.
To regenerate the API key:1 Click Generate API Key. 2 Enter your username and password and click on Submit. Enabled SSH Port The port where SSH is configured.
Default: SSH is disabled. Disable SSH Disables SSH on port 22. 1 Click Disable SSH. 2 Enter your administrator username and password. 3 Click Submit. Enable SSH The option to select SSH port or use the default port 22. You can set the password manually or use the option to auto-generate the password.
Note: The SSH session's auto-generated password displays for only 30 seconds. Ensure you make note of it before it disappears.You can use SSH console to run Linux commands to validate the memory and swap space you have installed.
1 Click Enable SSH. 2 If you have selected Auto-generated, enter your ScaleArc UI admin username and password to derive the SSH password.
Alternatively, if you choose the user-defined option, enter your selected password. Then, enter the ScaleArc UI admin username and password to derive the SSH password.3 Click Submit. Upload SSL Certificate By default, ScaleArc uses a self- signed certificate for communication via HTTPS. Since it is self-signed, the system displays an untrusted certificate alert while accessing ScaleArc. To resolve the untrusted certificate issue, you can purchase and upload an SSL certificate and its key by selecting this option.
Note: Access ScaleArc using the Common Name in the certificate you are uploading.1 Click Browse to locate and
upload your SSL.2 Click Submit.