
Prerequisite
- Before you begin, complete setting up the network (make sure DNS and Search Domain are set up correctly).
Recommended configuration for the AWS Load Balancer while working with ScaleArc
The complete duration for Aurora failover process takes about one minute. During this time, ScaleArc holds client connections in a surge queue while waiting for the new master to become available. By default, the AWS Load Balancer has an idle timeout of 60 seconds. If it is used in front of ScaleArc and if there is an Aurora failover, then the load balancer may terminate application connections after 60 seconds of idle time. To avoid this scenario, it is recommended that you set the "idle-timeout" attribute of the AWS Load Balancer to 120 seconds.
Configure the Aurora server
To set up the Aurora server, follow these steps:
- On the ScaleArc dashboard, click the Clusters tab > Add Cluster button.
-
Complete setting up the network and database access.
- Locate the Servers panel on the Create Cluster screen. This is the fourth panel on the screen.
- Select Cluster for Server Type and Aurora from the dropdown.
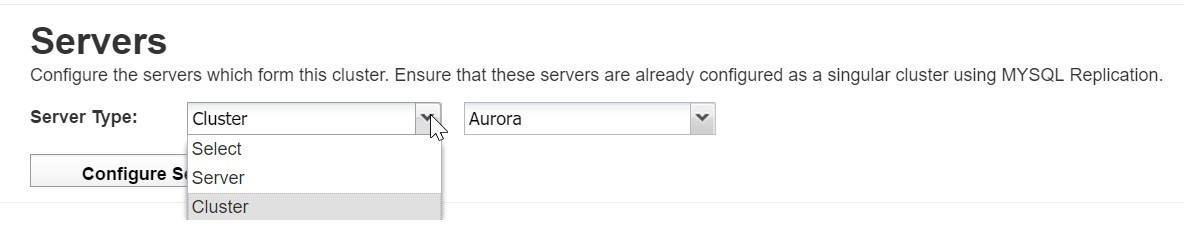
- Click Configure Server.
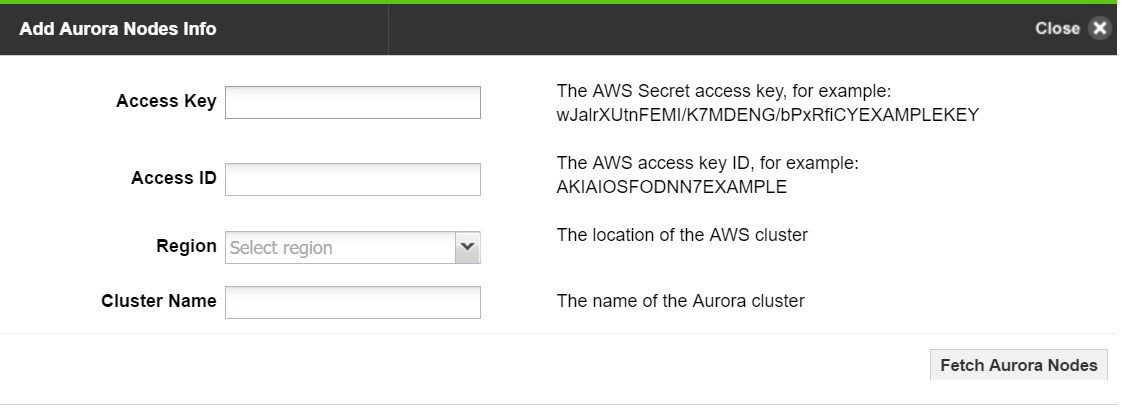
- Specify the Aurora node's information.
- Enter the Access Key, Access ID, Region, and name of the Aurora cluster.
-
Click on Fetch Aurora Nodes. This will connect to Amazon RDS and fetch all the configured servers.
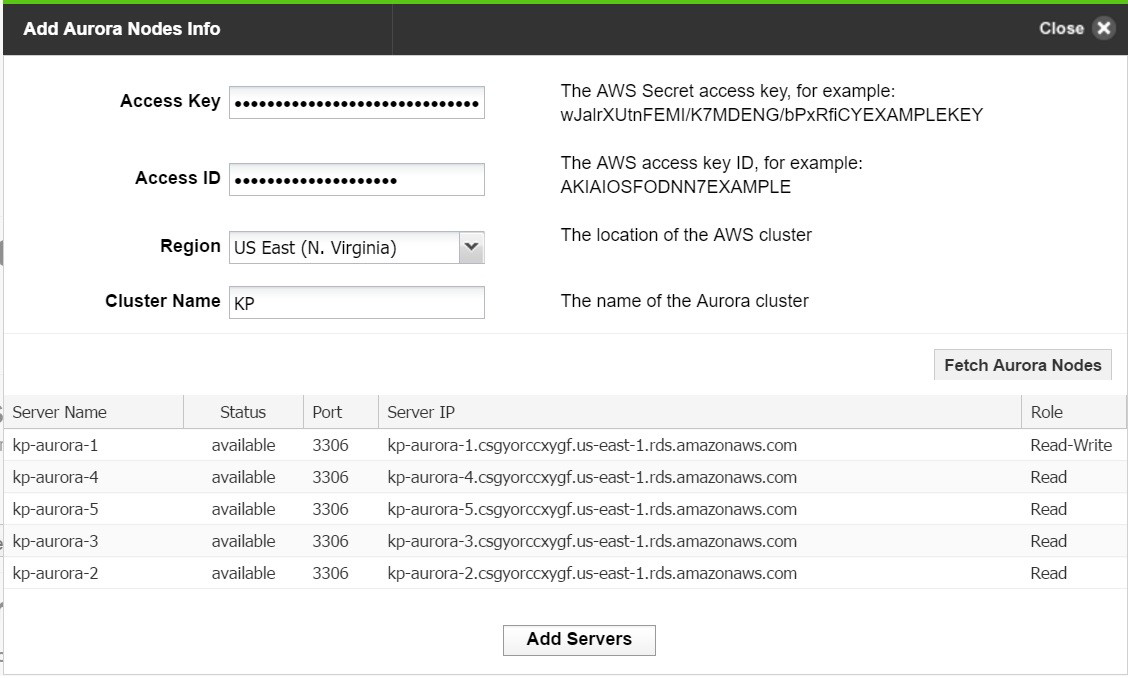
- Click on Add Servers to add all the servers to the Aurora cluster.
- The Start Cluster After Setup setting determines if the cluster is ON or OFF immediately following the setup.
- Click Setup Cluster to complete the configuration.
- If you have incorrectly configured the settings, you may see an error alert.
- Click OK. Any error appears in the Configuration log section of the screen. Review the details and address the error to complete the setup. Note that you can also download the detailed error message.

- Click Finish to set up the cluster.
- When completed, a popup dialog confirms the cluster was successfully created.
- The newly created cluster appears in the CONTROL PANEL section of the dashboard along with the Aurora database instances that were added.
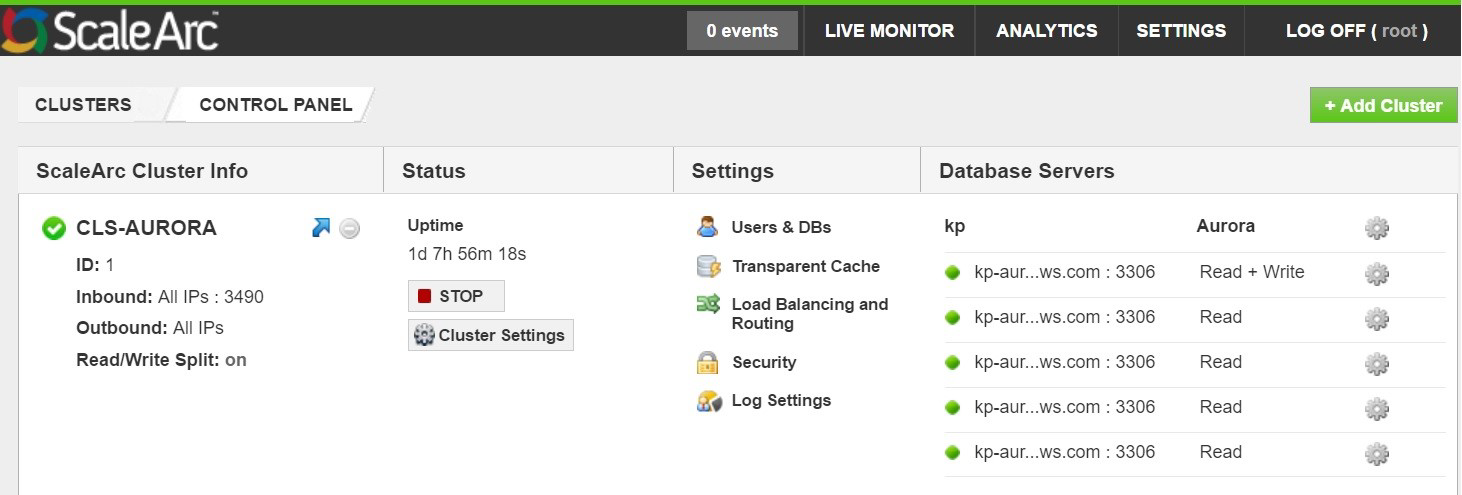
- If you had selected the checkbox to Start Cluster After Setup (this is selected by default), the newly created cluster's green icon indicates that the cluster is already running. If you had unchecked this option, the cluster icon will be red, indicating that you need to start the cluster. Click START in the Status column to run the cluster. The icon should turn green indicating it is now running. You can stop the cluster using the STOP button.